Finding a roof leak can send any homeowner into panic mode when water starts dripping into your living space. Understanding the simple aspects of leaky roof repairs can save you from making hasty decisions before you reach for the phone to call a professional. It will also help you communicate better with contractors.
We know that identifying and addressing roof leaks is critical for preventing major damage to your home. That’s why we’ve put together this piece to walk you through the warning signs of a compromised roof and practical methods for how to find a roof leak. We’ll also cover emergency roof leak repair steps you can take to minimize damage while waiting for professional help.
Signs Your Roof is Leaking
Spotting the warning signs early can prevent minor issues from turning into major roof leak repair projects. Water stains remain the most obvious indicator. They appear as brown, yellow, or rust-colored discolorations on your ceilings and walls. These stains typically form irregular patterns that spread over time and signal that water has already penetrated your roofing system.
Sagging ceilings require immediate attention. Water accumulates in the roof decking, and wooden materials absorb moisture, rot, and grow heavier. This creates dangerous structural weaknesses. This represents a serious safety hazard that requires urgent professional evaluation.
Mold growth is another clear sign of ongoing leaky roof repair needs. You’ll find mold appearing in black, green, or brown shades, especially around attic insulation and in corners where moisture collects. Mold can start growing within 24 to 48 hours after water damage begins. A musty odor often indicates hidden moisture problems before visible mold appears.
Paint deterioration gives you additional clues. Look for peeling, cracking, or bubbling paint on ceilings and walls. Missing or damaged shingles on your roof’s exterior also signal potential entry points for water infiltration.
Contact a roofing professional right away if you notice multiple signs at once, especially sagging sections combined with water stains. The longer water damage persists, the more extensive and expensive repairs become.
How to Find a Roof Leak
Locating the exact source of a roof leak requires detective work, since water rarely drips straight down from the entry point. Water travels along rafters, trusses and sheathing before appearing inside your home. This means the actual leak source sits higher up and farther away than the visible stain.
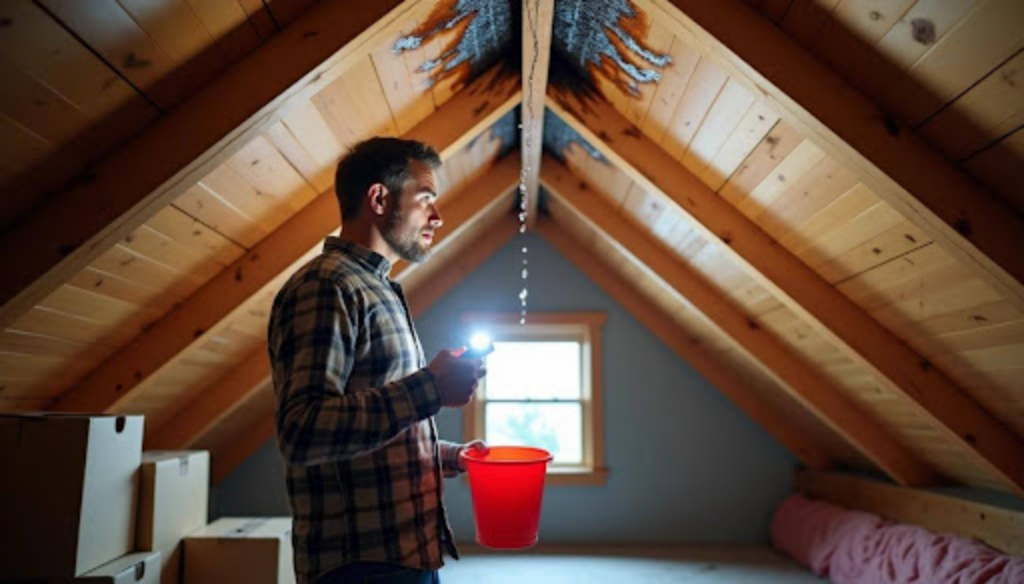
Start by inspecting your attic during or right after rain. You’ll need a flashlight to search for dripping water, wet wood or moisture trails on rafters and sheathing. Look for dark spots, mold growth, discoloration, and damp insulation. Check for daylight coming through the roof deck after you turn off your flashlight, as gaps allowing light also permit water entry.
Water stains should be traced upward toward the roof’s peak. Most leaks occur at penetration points where something passes through the roof surface. Search around vent pipes, chimneys, skylights and roof valleys.
Inspect from ground level using binoculars for exterior examination. Look for cracked rubber vent boots, gaps between flashing and chimneys, missing shingles and damaged valley flashing.
Perform a water test if the leak remains elusive. Someone should monitor the attic while you spray sections of the roof with a garden hose, starting low and working upward. Wait several minutes between sections. You’ve isolated the entry point when water appears inside.
Emergency Roof Leak Repair Steps You Can Take
Act fast during an active leak to prevent thousands of dollars in water damage. After you locate the source, change your focus to protecting your home’s interior and minimizing further deterioration.
Move furniture, electronics, and valuables away from dripping water. Place buckets or containers under all leak points to catch water. If your ceiling shows a sagging bulge, puncture the lowest point with a screwdriver to create a controlled drain. This prevents ceiling collapse from pooled water weight.
Turn off electricity to any rooms with active leaks. Water and electricity create serious fire and electrocution hazards. If you notice ceiling sagging, visible cracks, or hear loud cracking sounds, evacuate and call emergency services.
Document everything with photos and videos before attempting repairs. Capture ceiling stains, wet areas, damaged belongings, and the leak source in your attic. This documentation proves essential for insurance claims.
For temporary fixes until professionals arrive, roofing cement works well for small cracks and loose shingles. Heavy-duty tarps provide broader protection for larger damaged areas. Apply roofing tape to minor gaps around vents and flashing.
Start drying affected areas using fans and dehumidifiers. Mold starts growing within 24 to 48 hours of water intrusion. Remove wet insulation from the attic, as it won’t dry and harbors mold.
Contact professional roofers for permanent emergency roof leak repair solutions.
Conclusion
Knowing the warning signs and emergency steps puts you in control when roof leaks strike. We’ve shown you how to identify problems early, locate leak sources, and protect your home while waiting for help. This knowledge helps you communicate with roofing professionals and prevents panic during stressful situations. Note that temporary fixes buy you time, but permanent solutions require experienced contractors who can restore your roof’s integrity.